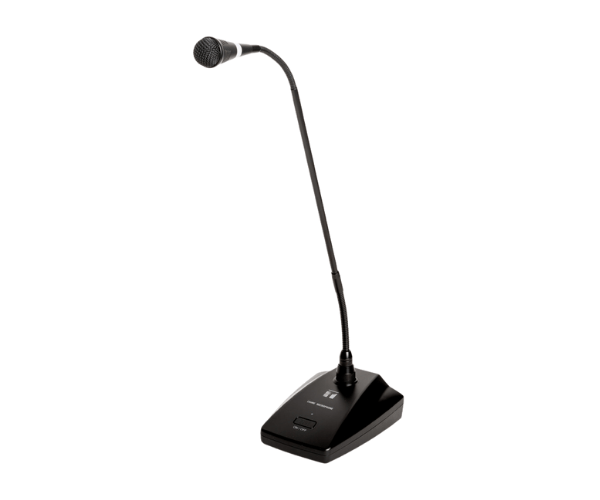
About of Toa EC380 Chime Microphone
The Toa EC-380 Chime Microphone is a well-performing high-quality microphone fitted with a chime function, very clear and accurate in sound projection. It finds its application in schools, businesses, and large venues where public address systems are used.
Specifications
| Feature |
Details |
| Microphone Type |
Chime Microphone |
| Frequency Response |
80Hz - 13kHz |
| Output Impedance |
600 ohms |
| Power Supply |
12V DC |
| Operating Temperature |
-10°C to 50°C |
| Connector |
3-pin XLR |
| Dimensions (L x W x H) |
171mm x 137mm x 59mm |
| Weight |
1.5 kg |
| Chime Volume Control |
Yes |
| Microphone Design |
Handheld with stand |
Description
Toa EC-380 Chime Microphone in BD
The TOA EC-380 Chime Microphone is just perfect for settings where clear, articulate announcements have to be effected, including school, church environments, and a host of others. It promises quality audio output with an additional chime attachment. It is also reliable and easy to handle, thus making many prefer it above other microphones.
User Experience
The Toa EC-380 Chime Microphones are easy and efficient to use. The ergonomic design of the microphone and its solid build ensure comfort during long uses. Added to this is the chime function, which makes it very suitable for transition signals or alerting audiences in public places. This microphone produces clear, distortion-free audio, even at high volumes, to make sure your message is loud and clear. With ease of use and its reliable performance, the Toa EC-380 has become a favorite in many different public address environments.
Why Choose the Toa EC-380 Microphone?
- Excellent sound output
- Ergonomically designed for comfort and durability during prolonged use.
- Chime feature for added versatility
- Reliable and easy-to-use microphone
- Ideal for a variety of locations including schools, churches, and event halls.
- Offers clear, distortion-free audio even in noisy environments.
Installation Steps
- Unboxing the Toa EC-380 Microphone; all packages shall be removed.
- Connect the 3-pin XLR connector on the microphone to your amplifier or PA system.
- Put the microphone either on a stand or hold it at hand, according to preference.
- Turn on power and ensure voltage is correct for your microphone.
- Check if the microphone works and make adjustments to chime volume where needed.
- With the installation and functionality of the microphone, now you are ready to make announcements or hold events.