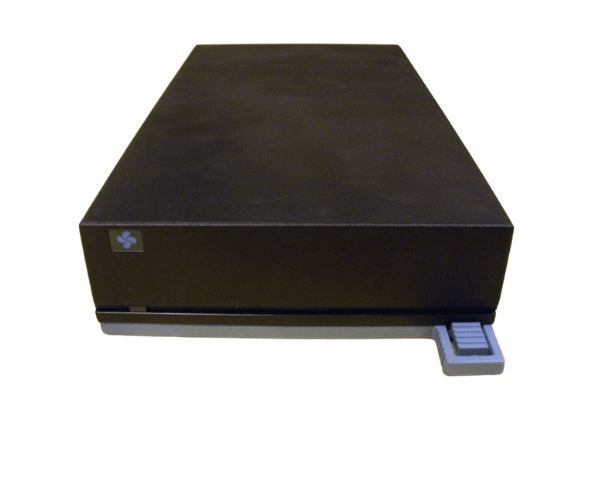
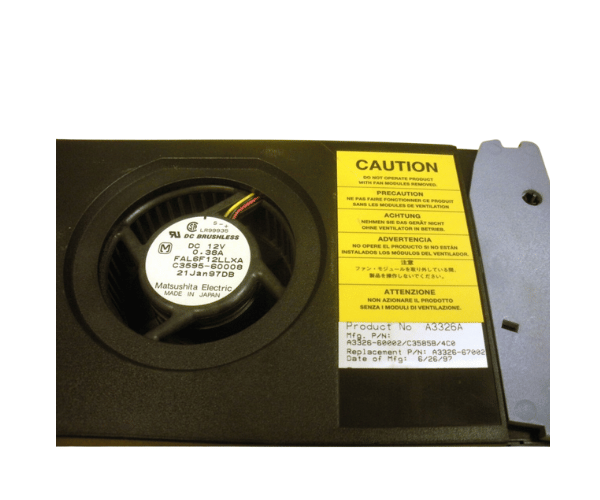
HP A3326A Disk Array Fan
The HP A3326A Disk Array Fan is essential for cooling HP disk arrays, ensuring optimal performance and preventing overheating. Designed for reliability and efficiency, the HP A3326A enhances airflow within your disk array system, contributing to stable operation and extending the lifespan of your hardware.
User Experience
Users of the HP A3326A Disk Array Fan report high satisfaction due to its effective cooling capabilities and straightforward installation. The fan module integrates seamlessly into HP disk arrays, providing reliable airflow that keeps the system cool even under heavy loads. Users appreciate the quiet operation, which minimizes disruption in office environments. The HP A3 326A is noted for its durable construction, ensuring long-term reliability and reducing the need for frequent replacements. Overall, the HP A332 6A Disk Array Fan is valued for maintaining optimal disk array performance and extending hardware life.
Why Choose the HP A3326A Disk Array Fan?
The
HP A33 26A Disk Array Fan is a top choice for maintaining efficient cooling in HP disk arrays. The HP A33 26A Disk Array Fan is specifically designed to fit HP disk arrays, providing reliable and effective airflow. By choosing the HP A3 326A Disk Fan, you ensure that your array remains cool, which is crucial for optimal performance and longevity. Its low noise and energy-efficient operation make it ideal for both quiet and high-demand environments. Investing in the HP A3326A Disk Fan helps protect your hardware, ensuring smooth and reliable operation.
Key Features
- Optimized Compatibility: Designed for HP disk arrays for perfect fit and function.
- Effective Cooling: Ensures efficient airflow to prevent overheating.
- Durable Construction: Made with high-quality materials for lasting performance.
- Quiet Operation: Operates with minimal noise, suitable for office settings.
- Energy Efficient: Consumes low power while delivering robust cooling.
Installation Steps
- Power Down the Disk Array: Turn off the disk array and unplug it from all power sources.
- Remove the Disk Array Cover: Open the chassis to access the internal components.
- Locate the Existing Fan: Identify where the current fan is installed within the disk array.
- Remove the Old Fan: Disconnect and remove the old fan assembly from its position.
- Install the HP A3326A Fans: Position the HP A3326A Array Fan into the designated slot and secure it with screws or clips.
- Reassemble the Disk Array: Replace the cover and reconnect all power sources.
- Verify Operation: Power on the disk array and ensure the fan is working correctly, providing adequate cooling.